
OpenClaw Easy Setup: How Simple Is It?
OpenClaw Easy Setup: How Simple Is It, Really?
OpenClaw easy setup is possible — but which path you pick decides whether "easy" means five minutes or forty-five. Self-hosting the open-source agent means installing Node.js 24, running a CLI onboarding wizard, and keeping a server online yourself. A managed option skips all of that: sign up, pick a channel, scan a QR code, and you're messaging your agent shortly after.
Every top-ranking guide for this exact search teaches the terminal route. Not one of them is written for someone who just wants it working today.
What Makes OpenClaw Easy Setup Possible?
OpenClaw easy setup comes down to who manages the infrastructure, not the software itself. Self-hosting requires installing Node.js 24, running a CLI onboarding wizard, and keeping a server online around the clock — genuinely hard for anyone without command-line experience. A managed service like OpenClawHQ handles all of that server work for you, so setup becomes a short, guided walkthrough in a web dashboard instead of a terminal session.
That distinction matters more than it sounds. OpenClaw itself — the agent, the skills, the reasoning — is identical either way. What changes is who's responsible for the plumbing underneath it.
For openclaw for beginners specifically, that plumbing is the entire obstacle. Most non-technical users don't fail because the AI agent is confusing. They fail because npm install, environment variables, and a background daemon that needs restarting are a foreign language.
Key Takeaways
- OpenClaw is free, open-source software — but running it reliably requires a dedicated server, Node.js 24, and a CLI onboarding wizard most non-technical users never finish.
- A managed path gets you from signup to your first message in roughly five minutes, with no command line and no server to babysit.
- You authenticate your channel with a QR scan (WhatsApp), a bot token (Telegram), or an OAuth click (Discord, Slack) — 2 to 3 minutes each.
- Skills like web search, email, and calendar management come pre-installed and activate with one click, no coding required.
- If you can sign up for Gmail, you can complete a no-code openclaw setup — the guided dashboard was built specifically for non-technical business owners.
OpenClaw Easy Setup vs. Self-Hosting: Where the Time Actually Goes
The top search results for "openclaw easy setup" are almost entirely self-hosting guides — GitHub repos, Medium walkthroughs, a "master OpenClaw in 30 minutes" tutorial. That's telling. Even the guides that call it fast still measure success in dozens of minutes, not five.
A typical self-hosted path looks like this:
- Install Node.js 24 (the specific version OpenClaw requires)
- Run
npm installglobally, then the CLI onboarding wizard (openclaw onboard --install-daemon) - Provision a machine or VPS that stays online 24/7
- Authenticate each messaging channel manually — QR scan for WhatsApp, a BotFather token for Telegram
- Lock down the Gateway so it isn't exposed to the open internet, then keep it patched as updates ship
None of those steps are optional, and several assume you already know what a daemon or an environment variable is. A managed instance removes the first three entirely — there's no server to provision, no Node.js version to match, no daemon to keep alive.
Reality check: the "5 minutes" self-hosting guides advertise usually covers only the install command — not the channel authentication, the security lockdown, or the maintenance that follows. A managed instance is the only path where five minutes is the whole story, start to finish.
What's the Fastest Way to Set Up OpenClaw?
The fastest way to set up OpenClaw is through a managed dashboard that handles channel authentication for you — sign up, choose your platform, complete a short guided step, and your instance is live. With OpenClawHQ specifically, that whole sequence takes about five minutes from signup to your first message, with no command line at any point.
The guided dashboard walks through five steps in order:
- Sign up — email and password, about 30 seconds
- Choose your channel — WhatsApp, Telegram, Discord, Slack, or another supported platform
- Authenticate — scan a QR code for WhatsApp, enter a bot token we help generate for Telegram, or click Authorize for Discord and Slack
- Activate skills — turn on web search, email, calendar, or whatever your business needs
- Send a message — your instance responds immediately, running in the cloud on infrastructure you never have to touch
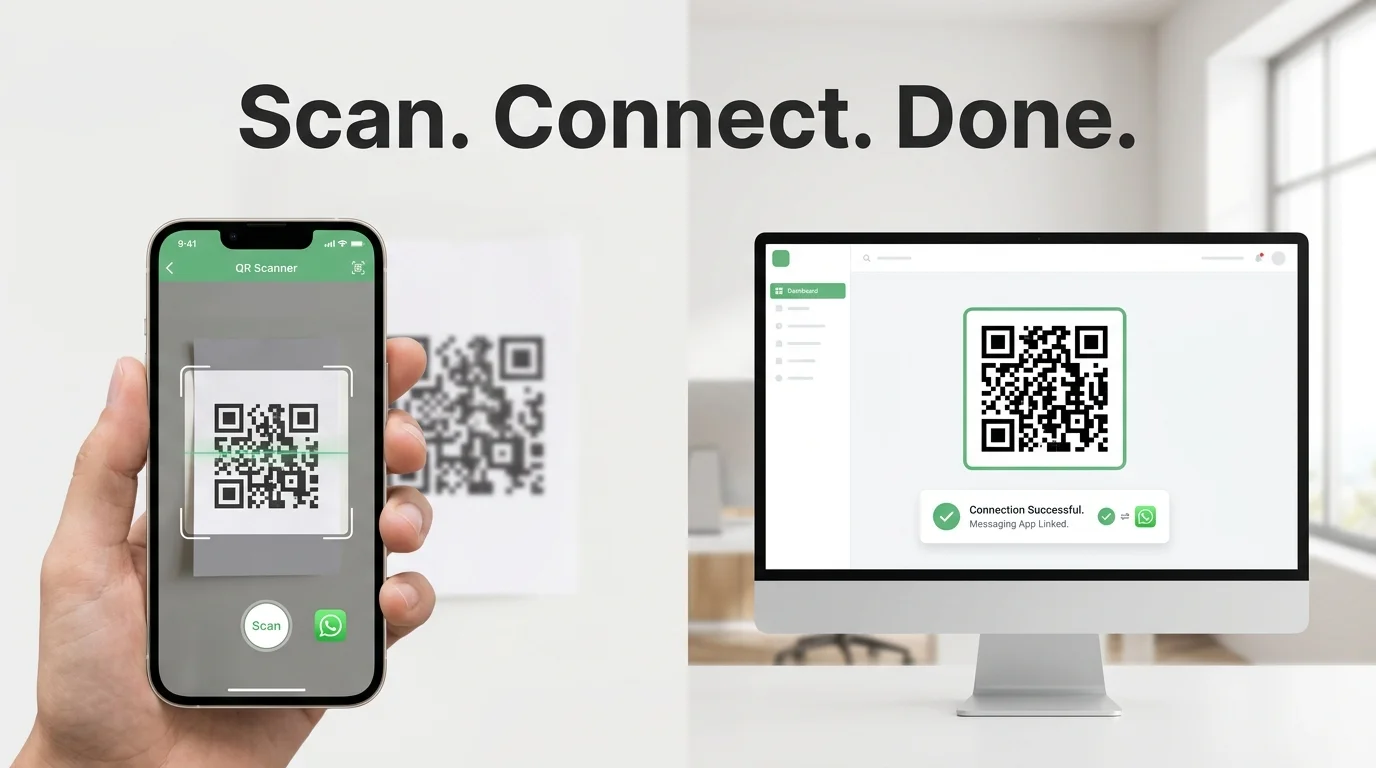 Scanning the dashboard's QR code is the entire WhatsApp connection step — no BotFather, no API keys.
Compare that to the self-hosted onboarding wizard, which asks you to configure models and fallbacks, personalize memory, and set up persistence across eleven separate steps before you send a single message. Our broader no-code setup guide walks through what happens after that first message, including how to connect a second channel later.
What Do I Need to Set Up OpenClaw on WhatsApp?
To set up OpenClaw on WhatsApp through a managed service, you need a phone with WhatsApp installed and about three minutes — nothing else. You scan a QR code displayed in the web dashboard using your phone's camera, the same way you'd link WhatsApp Web, and the connection completes automatically.
There's no WhatsApp Business API application to file, no Meta developer account, and no webhook configuration. That's normally the hardest part of connecting any bot to WhatsApp, and the guided dashboard absorbs it entirely.
Telegram and Discord follow the same no-code openclaw setup pattern with different authentication:
- Telegram — the dashboard walks you through generating a bot token via BotFather, then pastes it in for you
- Discord — a single "Authorize" click grants the connection, no manual bot permissions to configure
- Slack — same OAuth click, no workspace admin console required
Can I Set Up OpenClaw Without Coding Knowledge?
Yes. OpenClaw without coding is the entire point of a managed setup path — every step happens through buttons, QR scans, and dropdown menus in a web dashboard, with zero command-line input required at any point. This is different from the self-hosted route, which assumes comfort with a terminal even for the "quick start" option.
If you're already comfortable with non-code tools and platforms generally — Shopify, Squarespace, a CRM dashboard — the OpenClaw setup experience will feel familiar rather than technical. It's designed for the same audience.
The skills library follows the same logic. Activating web search, email drafting, or calendar management is a toggle, not a configuration file. Writing a custom skill from scratch still requires code — but almost nobody needs that on day one.
Setup Times Compared Across Every OpenClaw Option
Setup time ranges from about five minutes with a fully managed instance to 30-45+ minutes self-hosting, with other managed services landing somewhere in between depending on how much of the backend they still leave for you to configure.
| Setup Path | Typical Time to Live | Technical Skill Needed |
|---|---|---|
| Self-hosted (GitHub, VPS) | 30-45+ minutes | High — Node.js, CLI, server admin |
| KiloClaw (managed) | ~15-20 minutes | Medium — gateway model config |
| xCloud / MyClaw (BYOK) | ~15-20 minutes + your own API setup | Medium |
| Blink Claw (managed) | ~10-15 minutes | Medium — model selection UI |
| OpenClawHQ (fully managed) | ~5 minutes | None |
The gap isn't really about the software — every option runs the same OpenClaw underneath. It's about how much of the server and channel work still lands on you. See our full comparison of managed vs. self-hosted OpenClaw if you're weighing the tradeoffs beyond setup time alone.
Worth knowing: several "managed" competitors still require you to bring your own AI model API keys, which means a separate signup and separate billing before you can send a single message. That step doesn't show up in their advertised setup time, but it's real work.
Why Choose OpenClawHQ for Easy Setup?
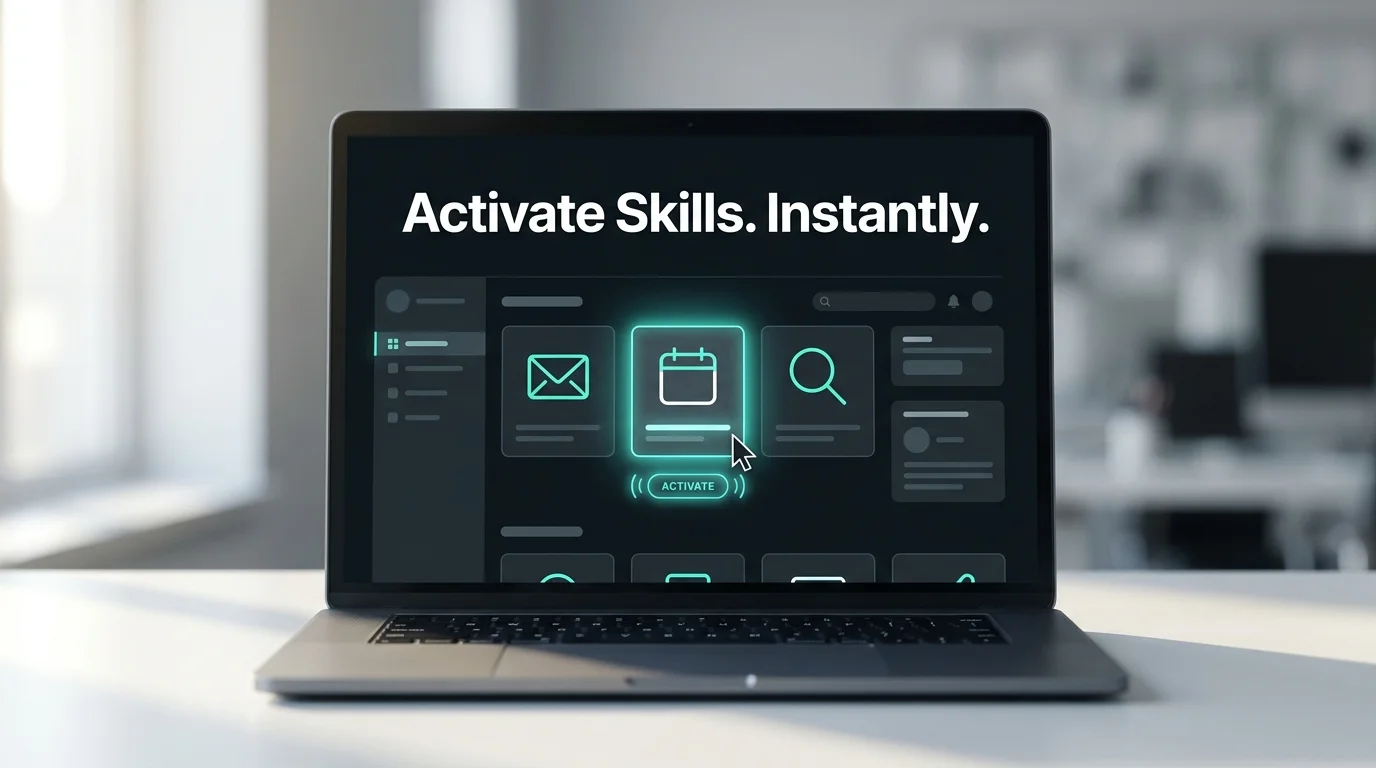 Activating a skill after setup is a single click — no configuration file, no restart.
OpenClawHQ is built specifically to remove every technical barrier between "I want an AI agent" and "I have one running." You get a private instance, deployed within minutes, with 100+ skills pre-installed and ready to activate. There's no separate hosting fee plus token bill to track — one flat $49/month covers the instance and unlimited usage.
That matters most once you're past setup and actually using the agent daily. A managed service that's cheap to start but charges per token can cost more than expected the moment a business starts relying on it for real customer volume. Flat pricing means the setup decision and the cost decision are the same decision.
Once you're live, the no-code automation options open up fast — connecting a second channel, chaining skills together, or automating a workflow that used to take a human an hour each day.
Get Started with OpenClawHQ
If a terminal has ever stood between you and trying OpenClaw, the managed path removes it completely — sign up, connect a channel, and start messaging your agent today.
Frequently Asked Questions
Is OpenClaw free to set up?
The OpenClaw software itself is free and open source. But running it requires a dedicated server, Node.js setup, and ongoing maintenance, plus your own AI model API costs if you self-host. OpenClawHQ replaces all of that with one $49/month flat fee, including unlimited usage and no separate token charges.
Do I need coding experience to set up OpenClaw?
No, not with a managed instance. The entire setup — signup, channel selection, authentication, skill activation — happens through a web dashboard using QR codes, tokens, and buttons. Self-hosting is the path that requires coding comfort; the managed dashboard was built specifically to remove it.
Can I set up OpenClaw without a server, regardless of my operating system?
Yes. A managed instance runs entirely in the cloud, so your computer's operating system doesn't affect setup — you're just using a web dashboard through a browser. There's nothing to install locally on Windows, Mac, or Linux, and nothing running on your own machine.
What's the real difference between setting up OpenClaw myself and using OpenClawHQ?
Self-hosting means installing Node.js 24, configuring the CLI, running a 24/7 server, and authenticating each channel manually — plus paying for your own AI API usage. OpenClawHQ does all of that for you: a private instance live in minutes, fully managed, for $49/month with unlimited usage included.