
OpenClaw for Beginners: Is It Easy? | OpenClawHQ
OpenClaw for Beginners: Is It Actually Easy to Set Up?
OpenClaw for beginners is easy only if you skip the self-hosting path. The open-source software is free, but running it yourself means installing Node.js, configuring a server, and working through a CLI onboarding wizard — most non-technical users hit a wall in the first fifteen minutes. The workaround: a managed instance that's live in about 5 minutes, no terminal involved.
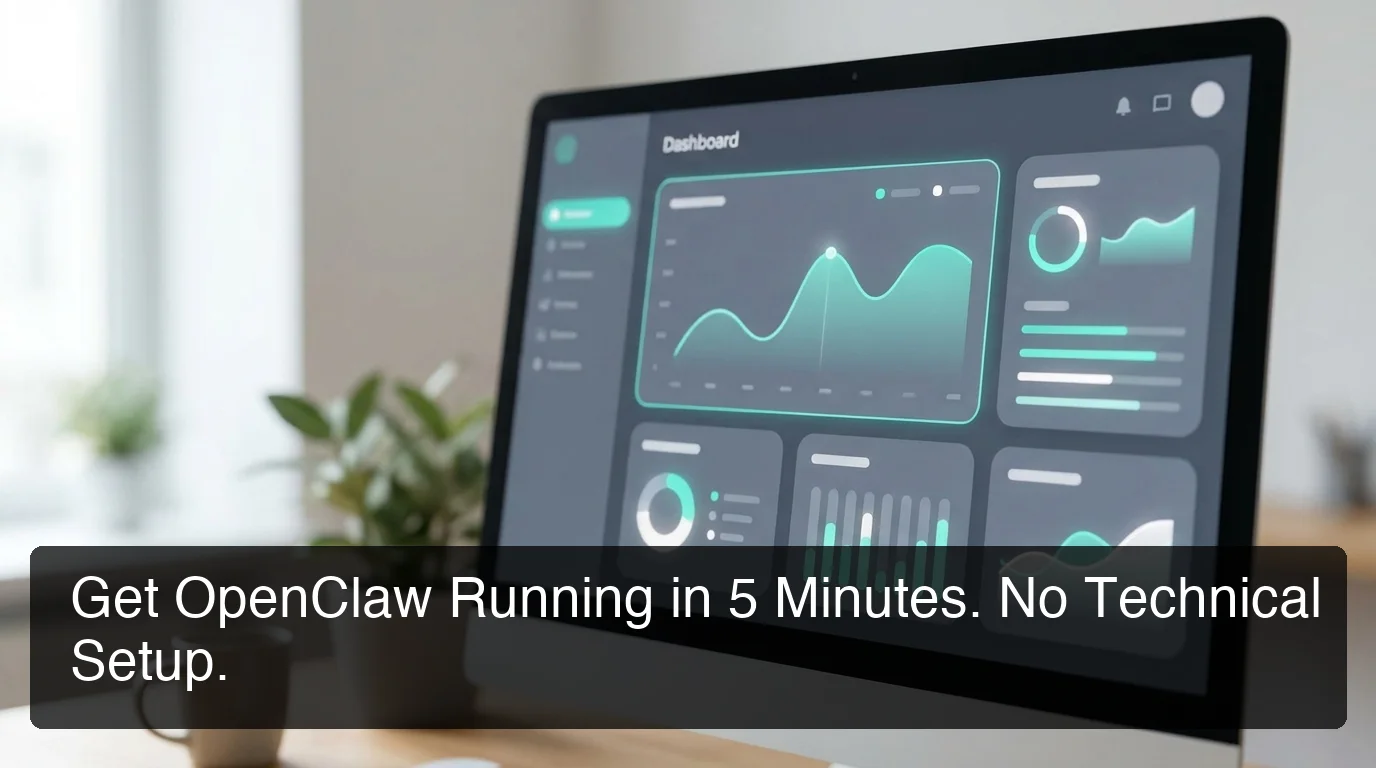 The web dashboard beginners use instead of a command line.
What's So Hard About Setting Up OpenClaw the Traditional Way?
Running OpenClaw yourself means installing Node.js 24, working through a CLI onboarding wizard, authenticating each messaging channel by hand, and keeping a server online around the clock. Most non-technical users hit a wall in the first fifteen minutes — not because OpenClaw is badly built, but because its setup was written for developers.
The official process runs through a single terminal command, openclaw onboard --install-daemon, followed by channel-specific authentication steps. WhatsApp needs a QR scan tied to a running daemon. Telegram needs a bot token from BotFather. Every platform adds its own small technical hurdle on top of the last.
Self-hosting OpenClaw requires:
- Node.js 24 installed and kept current
- A VPS or dedicated machine running 24/7
- The CLI onboarding wizard (
openclaw onboard --install-daemon) - Channel authentication per platform (QR codes, bot tokens, Authorize clicks)
- Manual monitoring for crashes and ongoing software updates
Reality check: Even developers report losing an afternoon to OpenClaw setup — channel authentication and daemon configuration are the two places most people get stuck.
If you've read through how OpenClaw works without coding and still felt the technical setup section was aimed at someone else, that reaction is the entire reason managed hosting exists.
Key Takeaways
- OpenClaw itself is free and open source, but self-hosting demands Node.js 24, a 24/7 server, and CLI configuration — a real barrier for non-technical users.
- OpenClawHQ removes that barrier: sign up, pick a messaging app, scan a QR code or click connect, and your instance is live in about 5 minutes.
- The $49/month flat plan includes unlimited usage, 100+ pre-built skills, and zero token fees — no surprise bills as usage grows.
- Non-technical users never touch a command line; the entire setup happens through a web dashboard.
Do You Need to Know How to Code to Use OpenClaw for Beginners?
No. Using OpenClaw for beginners requires zero coding when you go through a managed service like OpenClawHQ — the entire setup happens through a web dashboard, not a terminal. You sign up, choose a messaging platform, and follow a guided wizard.
There's no npm install, no daemon to configure, no server to patch.
This is different from what most tutorials show you. The dashboard-based approach to no-code OpenClaw replaces every command-line step with a click, a toggle, or a QR scan. If you're non-technical and have never touched a terminal, that's the entire point — you're not supposed to need one.
Even if you've never used a server before, the dashboard assumes zero prior technical background. That's the difference between "technically possible to avoid coding" and "actually built for someone who's never coded."
How Long Does It Actually Take to Get OpenClaw Running?
Getting OpenClaw running through OpenClawHQ takes about 3 to 7 minutes depending on which messaging platform you connect — sign up, choose a channel, and complete one short connection step. That's the entire setup, not a preview of more configuration waiting on the other side.
Signup takes about 30 seconds — email and password, no credit card interrogation. From there, you pick which messaging app you want OpenClaw connected to first: WhatsApp, Telegram, Discord, Slack, or one of the others.
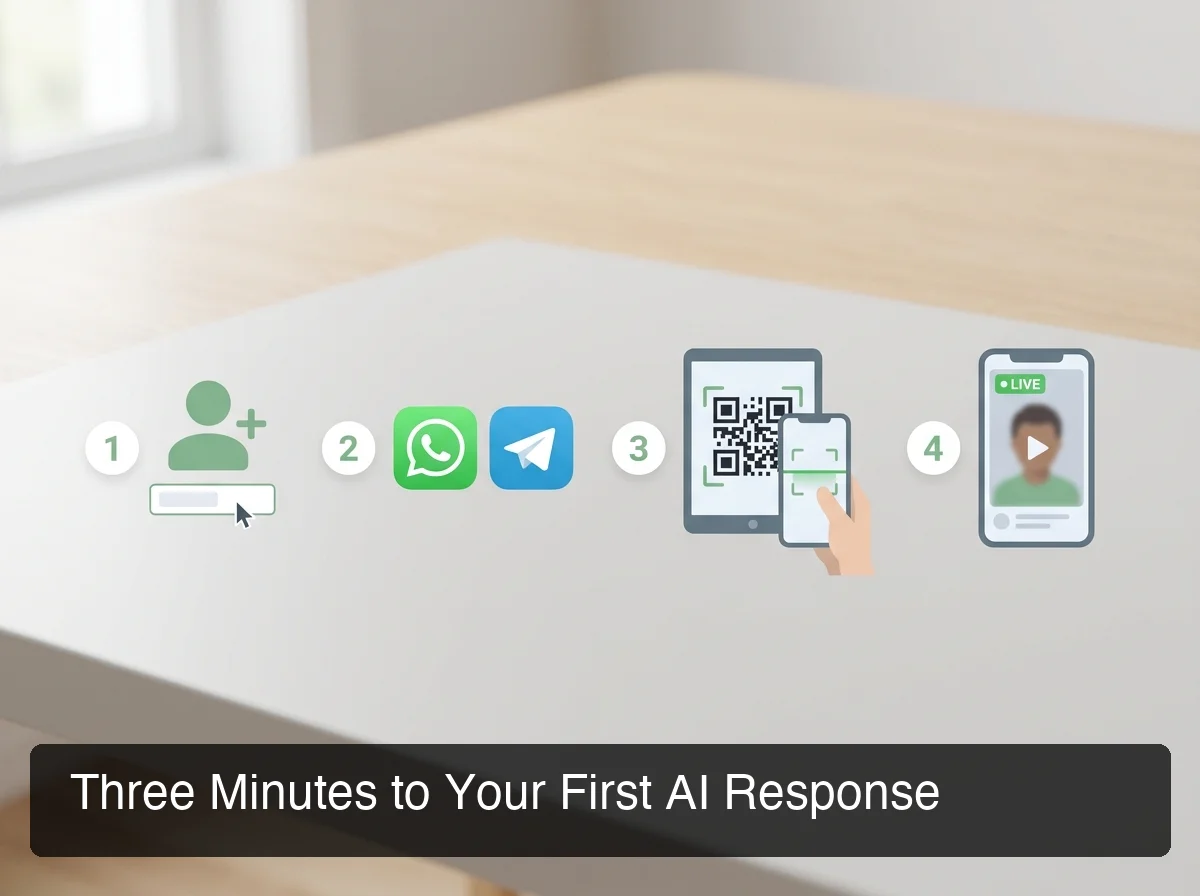 Three steps, no terminal: sign up, pick a channel, connect.
The connection step depends on which app you chose. WhatsApp needs a QR scan inside the dashboard, Telegram walks you through creating a bot token with a couple of clicks, and Discord or Slack use a one-click Authorize button.
None of these require anything installed on your own computer. Once connected, your instance is live — send a message to the platform you set up and OpenClaw responds.
What Are OpenClaw Skills and How Do You Activate Them?
Skills are OpenClaw's pre-built automations — browsing the web, summarizing a document, checking a calendar, sending an email, searching for information — that give the agent something to actually do beyond replying to messages. OpenClawHQ ships with 100+ of them pre-installed and ready to use.
You activate a skill by name, in conversation, right inside the messaging app you're already using — no separate configuration screen required. Want OpenClaw to check the weather or draft a follow-up email? You just ask it to, the same way you'd ask a person.
For a fuller rundown of what these automations can actually accomplish for a business, see what OpenClaw can do — skills are what turns a chatbot into something closer to an employee.
Why Is OpenClawHQ Easier Than Running OpenClaw Yourself?
 No server bill, no token counter — one flat number every month.
OpenClawHQ is easier because it removes every piece of infrastructure work a beginner would otherwise have to do themselves — the server, the Node.js install, the ongoing maintenance — and replaces the unpredictable token billing most competitors charge with one flat number. For $49/month, you get a private instance, unlimited usage, and every skill pre-installed.
Every other managed OpenClaw service splits your bill into two parts: a hosting fee, plus a variable charge for however many tokens your AI agent consumes. For a business actually using OpenClaw to answer customers, that second number is the one that gets away from you.
| Service | Hosting Fee | Token Fee | Typical Monthly Total |
|---|---|---|---|
| KiloClaw | $9/mo | Per-inference via gateway | Varies — can exceed $30+ |
| xCloud / MyClaw | $16/mo | BYOK (your own API costs) | $16 + your API bills |
| Blink Claw | $45/mo | Included but capped | $45 for limited usage |
| Hostinger VPS | $3.99–$9.99/mo | BYOK, self-managed | VPS + API bills + your time |
| OpenClawHQ | $49/mo flat | Included, unlimited | $49 always |
The $49 flat rate exists because of a direct partnership with an LLM provider — OpenClawHQ absorbs the inference cost instead of passing it through per message. You never see a token counter, and your bill never changes based on how hard you use it. That's the whole trade: a slightly higher sticker price than the cheapest hosting-only option, in exchange for never having to think about it again.
If you'd rather compare the complete beginner setup walkthrough side by side with this pricing breakdown, it covers the same ground from the signup screen forward.
Is OpenClaw for Beginners Actually Free to Use?
The OpenClaw software is free and open source — that part is real. What isn't free is running it: you need a server, Node.js, ongoing maintenance, and your own AI model API access, which costs money whether or not you ever count the tokens. OpenClawHQ replaces all of that with one $49/month charge that includes the server, the maintenance, and unlimited AI usage.
So when someone asks whether OpenClaw for beginners costs anything, the honest answer has two layers: the code costs nothing, but running it properly costs either your time (self-hosting) or a flat monthly fee (managed). There's no third option where it's both free and effortless.
Get Started with OpenClawHQ
If the setup steps above sound simpler than what you tried before, that's because they're the entire process — not a preview of more configuration to come. OpenClawHQ gets your private OpenClaw instance connected to your messaging app of choice in minutes, with unlimited usage and zero server maintenance on your end.
FAQ
Is OpenClaw free to use, or do you need to pay?
The OpenClaw software costs nothing — it's open source. But running it needs a server, technical setup, and your own AI API usage, which isn't free. OpenClawHQ bundles all of that into $49/month flat, including unlimited usage, so the only decision left is your time versus a fixed monthly fee.
How do I set up OpenClaw on WhatsApp as a beginner?
Through OpenClawHQ, connecting WhatsApp takes about five minutes: sign up, choose WhatsApp as your channel, and scan a QR code inside the web dashboard. There's no server to configure and no command line involved — the dashboard handles the entire connection for you.
Is OpenClawHQ safe for a non-technical person to use?
Yes. Every OpenClawHQ customer gets an isolated private instance, so your conversations and data aren't shared with anyone else. Security updates are applied automatically on our end, and we don't sell or share customer conversation data with third parties.
Can I switch messaging apps after setting OpenClaw up?
Yes. The $49/month plan isn't locked to a single channel forever — you can connect additional messaging apps or switch which one you use most through the same dashboard you used for initial setup, without starting the process over.