
OpenClaw Install: Hard Way vs. Easy Way | OpenClawHQ
OpenClaw Install: What It Actually Takes (Hard Way vs. Easy Way)
You watched a five-minute demo of OpenClaw replying to WhatsApp messages like a real assistant. Then you opened the GitHub README and hit the word "Node.js." That gap — between the demo and the real openclaw install process — is what this guide closes.
Key Takeaways
- OpenClaw is free, open-source software, but installing and running it requires a dedicated server, Node.js configuration, and ongoing maintenance most non-technical users can't handle alone.
- A real self-hosted OpenClaw install typically takes 2-8 hours of technical setup, plus your own AI model API fees on top of server costs.
- OpenClawHQ removes the technical barrier entirely: your private OpenClaw instance goes live in 3-7 minutes, fully managed, for $49/month flat with unlimited usage.
- OpenClawHQ's install has no command line, no server to rent, and no API keys to configure — you sign up, pick a messaging app, and start talking to your agent.
Contents
- What Does an OpenClaw Install Actually Involve?
- Why Is OpenClaw Installation So Difficult?
- How Long Does an OpenClaw Install Actually Take?
- Can You Install OpenClaw Without a Server?
- How OpenClawHQ Removes the Friction
- How Do You Set Up OpenClaw on WhatsApp in 5 Minutes?
- What's the Easiest Way to Get an OpenClaw Install Running?
What Does an OpenClaw Install Actually Involve?
An OpenClaw install means getting the open-source agent's code running on a machine that stays online, then connecting it to a messaging app and an AI model. That's three separate jobs: hosting, configuration, and authentication. Most "how to install OpenClaw" tutorials only walk you through the first one.
OpenClaw itself started life under a different name. It launched as "Clawdbot" in November 2025, was renamed "Moltbot" for three days in January 2026 after a trademark dispute, then settled on "OpenClaw." Who actually owns the project matters here, because it explains why installation is a DIY affair by default — there's no single vendor shipping a one-click app.
The official docs offer several install paths: an installer script, npm/pnpm/bun packages, building from source, or Docker. Each one gets code onto a machine. None of them handle what comes after — keeping that machine running, connecting it to WhatsApp or Telegram, and wiring up an AI provider.
Why Is OpenClaw Installation So Difficult?
OpenClaw installation is difficult because it was built for developers, not business owners — it assumes comfort with a terminal, a server you control, and an AI provider account you're willing to pay separately. None of that is optional. Skip any piece and the agent simply doesn't run.
 A stalled terminal window is where most self-install attempts end — not because the software is broken, but because the setup process was never built for non-developers.
Here's what a self-hosted install actually demands:
- Node.js 24, the specific runtime version OpenClaw requires — not whatever version happens to be installed already
- A dedicated machine or VPS that stays online 24/7, since the agent stops responding the moment the server does
- The CLI onboarding wizard (
openclaw onboard --install-daemon), run from a terminal with no visual interface - Channel authentication — a WhatsApp QR scan, a Telegram BotFather token, or an OAuth flow, depending on the platform
- Your own AI model API key, billed separately and by the token
Reality check: Most first-time installers hit a wall within 15 minutes — usually a Node version mismatch or a daemon that won't stay running after the terminal closes.
If you'd rather skip the terminal entirely, OpenClaw without coding walks through what a no-code path looks like in practice.
How Long Does an OpenClaw Install Actually Take?
A self-hosted OpenClaw install realistically takes 2-8 hours for someone comfortable with a command line, and longer for anyone who isn't — that includes server setup, Node.js configuration, channel authentication, and troubleshooting. A managed install through OpenClawHQ takes 3-7 minutes, because the server, the daemon, and the AI provider are already configured before you sign up.
| Install Path | Time to Live | What You're Managing |
|---|---|---|
| Self-hosted (VPS + manual setup) | 2-8 hours | Server, Node.js, daemon, updates, API keys |
| OpenClawHQ managed | 3-7 minutes | Nothing — just choose a channel |
The time gap isn't really about typing speed. It's that self-hosting bundles four separate technical jobs — sysadmin, developer, DevOps, and billing manager — into one install, and most people are only equipped for zero of them.
Can You Install OpenClaw Without a Server?
No — OpenClaw needs something to run on around the clock, whether that's your own VPS or a managed instance someone else operates for you. The software itself doesn't disappear once "installed" the way a mobile app does; it has to keep running to receive and answer messages.
That's the part self-hosting tutorials tend to gloss over. A one-line installer script gets the code onto a machine in seconds. Keeping that machine patched, restarted after crashes, and paying its hosting bill is the ongoing job nobody mentions in the quick-start guide.
Worth knowing: "Installed" and "running" aren't the same milestone with OpenClaw. A self-hosted instance that isn't actively maintained will silently go offline — usually discovered when a customer message goes unanswered.
This is exactly the gap a managed instance is built to close, and it's worth reading what OpenClawHQ's managed hosting actually includes before deciding which path fits your situation.
How OpenClawHQ Removes the Friction
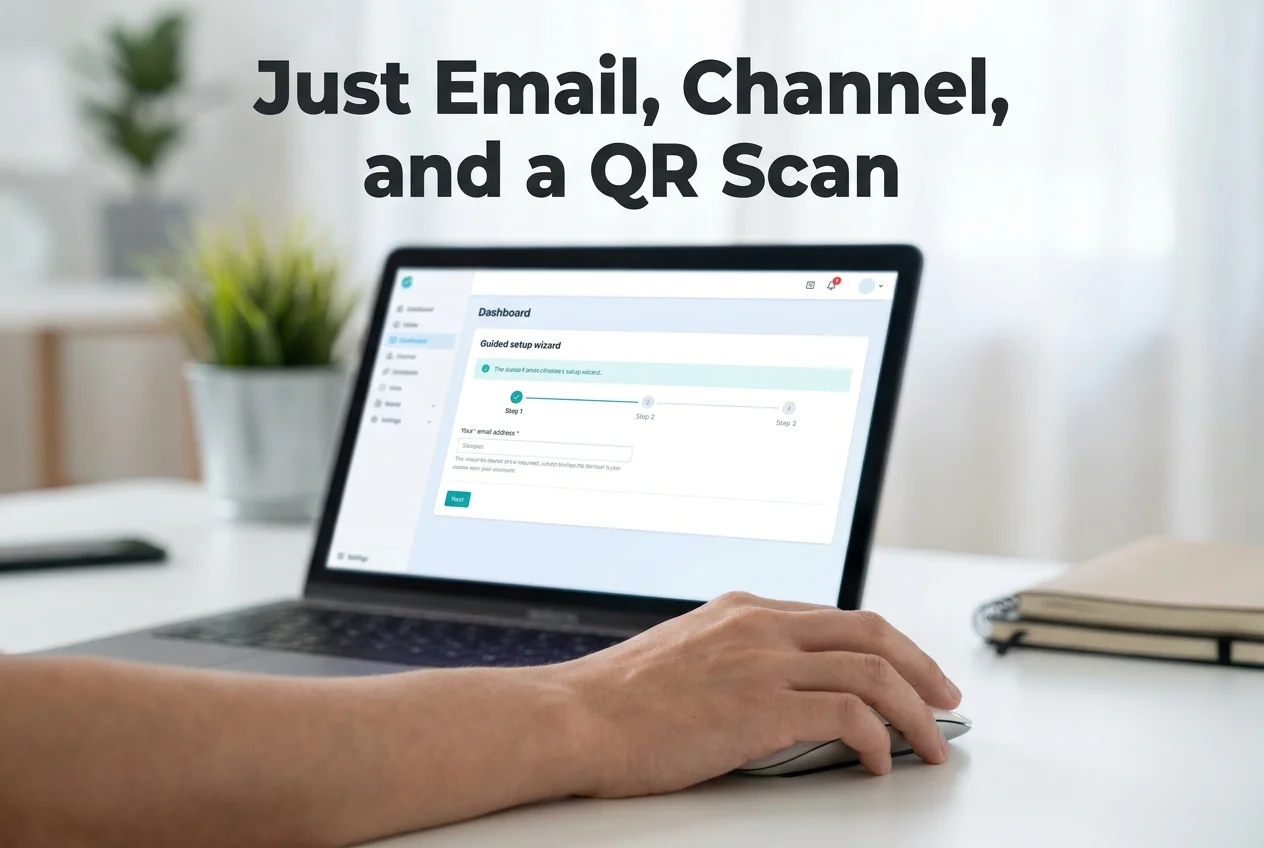 The entire OpenClawHQ install happens through a browser — no terminal window ever opens.
OpenClawHQ replaces the four-job installation with one screen. You pick a messaging channel, follow a guided wizard, and your instance is provisioned on dedicated infrastructure that OpenClawHQ already manages — Node.js, the daemon, restarts, and updates included.
The contrast with self-hosting is specific, not just a marketing line: a manual install needs Node.js 24, npm, a VPS you rent and secure yourself, and a CLI daemon you configure by hand. OpenClawHQ's dashboard-driven setup needs none of that — you're live in 3-7 minutes because there's no server for you to touch in the first place.
Pricing works the same way everything else does here: one number. $49/month flat, unlimited usage, no separate AI token bill arriving later. Skills come pre-installed too — web search, email drafting, calendar management, and 100+ others are ready to turn on from the dashboard the moment your instance is live, rather than something you configure by hand after the install finishes.
If you're the kind of buyer who has already decided OpenClaw isn't something you want to run yourself, OpenClaw for non-technical users covers the broader case for skipping self-hosting altogether.
How Do You Set Up OpenClaw on WhatsApp in 5 Minutes?
Setting up OpenClaw on WhatsApp through OpenClawHQ takes about 5 minutes: sign up, choose WhatsApp as your channel, scan a QR code in the dashboard, and your instance starts responding. No server, no BotFather token, no terminal command.
 The moment a self-hosted install can take hours to reach — a live agent, answering messages — happens in minutes with a managed instance.
The steps, in order:
- Sign up at openclawhq.io with an email and password
- Choose WhatsApp (or Telegram, Discord, Slack, and others) as your connected channel
- Scan the QR code shown in the dashboard from your phone
- Send a test message and watch OpenClaw reply
- Turn on skills — web search, email, calendar — from the dashboard when you're ready
Once it's live, getting started with OpenClaw is a natural next stop for activating the skills that make the agent useful for your specific business.
What's the Easiest Way to Get an OpenClaw Install Running?
The easiest way to get an OpenClaw install running is to skip the install entirely and use a managed instance — the difference between managed services mostly comes down to how they bill you, not how hard setup is. Every managed option removes the server. Only one removes the variable bill too.
By the numbers: Two-part billing (hosting fee plus per-token inference) is the norm among managed OpenClaw services — OpenClawHQ is the outlier with a single flat number.
| Service | Hosting Fee | Token Fee | Typical Monthly Total |
|---|---|---|---|
| KiloClaw | $9/mo | Per-inference via gateway | Can exceed $30+ |
| xCloud / MyClaw | $16/mo | BYOK — you pay your own API costs | $16 + your API bills |
| Blink Claw | $45/mo | Included but capped | $45 for limited usage |
| Hostinger VPS | $3.99-$9.99/mo | BYOK, self-managed | VPS cost + API bills + your setup time |
| OpenClawHQ | $49/mo flat | Included, unlimited | $49, always |
For a business actually using OpenClaw daily — answering customer messages, running automations — the token line item is where "cheap" hosting plans stop being cheap. Flat pricing only matters if it stays flat once you're a real user, not a trial account.
A rented VPS with the software pre-installed still leaves you as the on-call engineer. You're the one who notices when the daemon crashes at 2am, not a support team. That gap — between "installed" and "someone else is responsible for it staying installed" — is the entire reason managed hosting exists as a category.
Get Started with OpenClawHQ
You don't have to choose between a terminal window and a technical friend with a free afternoon. OpenClawHQ turns the entire OpenClaw install into a five-minute dashboard flow — pick your channel, scan a code, and your private instance is live.
FAQ
Is OpenClaw free to install?
The OpenClaw software itself costs nothing — it's open source. But running it needs a server, Node.js setup, and ongoing maintenance, plus your own AI model API charges. OpenClawHQ replaces that technical cost with one flat $49/month fee, including unlimited usage.
How long does it take to install OpenClaw yourself?
Expect 2-8 hours if you're comfortable with a command line — server setup, Node.js 24, the onboarding wizard, and channel authentication all add up. Less technical users often take longer or stall entirely. A managed instance through OpenClawHQ is live in 3-7 minutes instead.
Do I need to know how to code to install OpenClaw?
To self-host, yes — you'll run terminal commands, configure a CLI daemon, and troubleshoot Node.js errors. OpenClawHQ removes coding from the equation completely: setup happens through a web dashboard, with QR scans and click-to-authorize buttons instead of a command line.
What's the real difference between installing OpenClaw and using OpenClawHQ?
Self-installing means renting a server, configuring Node.js, authenticating channels yourself, and paying separate AI API bills. OpenClawHQ handles all of that — you get a private, fully managed OpenClaw instance running in minutes for $49/month, with usage included rather than billed per token.
Can I install OpenClaw on Windows?
Yes — the official installer supports Windows alongside macOS and Linux, using a dedicated Hub installer. It still requires Node.js, ongoing updates, and manual channel setup. OpenClawHQ sidesteps the OS question entirely: your instance runs on managed infrastructure, so your own computer's operating system doesn't matter.
What happens right after OpenClaw is installed?
Once installed, you still need to authenticate a messaging channel and activate skills before the agent is useful. With OpenClawHQ, that's the same 5-minute dashboard flow — connect a channel, turn on the skills you want, and start messaging your agent immediately.